The cardiovascular (CVS) examination is essentially an examination of the patient's heart; however it is a complex examination which also includes examination of other parts of the body including the hands, face and neck. The CVS examination aims to pick up on any cardiovascular pathology that may be causing a patient's symptoms, such as chest pain, breathlessness, or heart failure. This examination is performed on every patient that is admitted to hospital and regularly in clinics and general practice.
Like most major examination stations this follows the usual procedure of:
It is an essential skill to master and is often examined on.
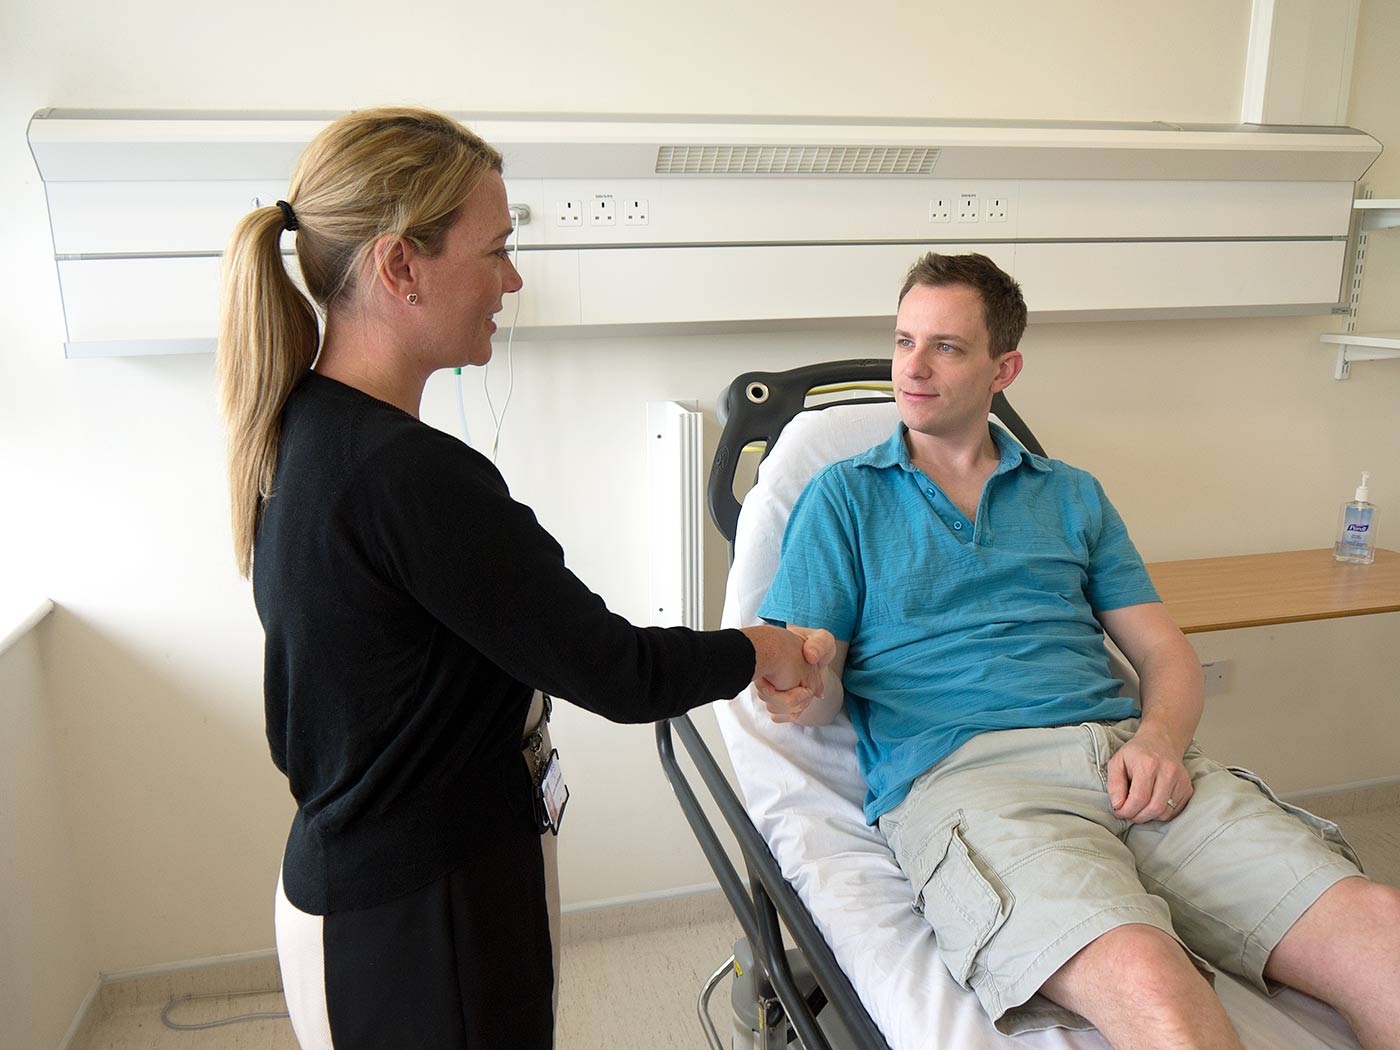
Wash your hands, introduce yourself to the patient and clarify their identity. Explain what you would like to do and obtain consent. A chaperone should be offered for this examination

The patient should be on the bed with their trunk at 45 degrees, and they should be exposed from the waist up.
Begin by observing the patient from the end of the bed.
You should note whether the patient looks comfortable.
Comments should be provided to the examiner on each of these areas.

Inspect the patient’s hands. Initially note how warm they feel as this gives an indication of how well perfused they are.
Particular signs which you should be looking for are:

Take the radial pulse. It is not a suitable pulse for describing the character of the pulsation, but can be used to assess the rate and rhythm. At this point you should also check for a collapsing pulse – a sign of aortic incompetence.
Remembering to check that the patient doesn’t have any problems with their shoulder, locate the radial pulse and place your palm over it, then raise the arm above the patient’s head. A collapsing pulse will present as a knocking on your palm.

Examine the extensor aspect of the elbow for any evidence of xanthomata.
At this point you should say to the examiner that you would like to take the blood pressure. They will usually tell you not to and give you the value.
Move up to the face. Look in the eyes for any signs of:
You should also look around the eye for any xanthelasma.

Whilst looking at the face, check for any malar facies:

Move to the patient’s neck to assess their jugular venous pressure (JVP).
Ask them to turn their head to look away from you. Look across the neck between the two heads of sternocleidomastoid for a pulsation. If you do see a pulsation you need to determine whether it is the JVP. If it is then the pulsation is non-palpable, obliterable by compressing distal to it, and will be exaggerated by performing the hepatojugular reflex.
Having warned the patient that it may cause some discomfort, press down on the liver. This will cause the JVP to rise further. If you decide the pulsation is due to the JVP, note its vertical height above the sternal angle.

Move the examination to the chest, or precordium (sometimes spelt "praecordium"). Begin by inspecting the area, particularly looking for any obvious pulsations, abnormalities or scars, remembering to check the axillae as well.
Palpation of the precordium starts by trying to locate the apex beat. Start by doing this with your entire hand and gradually become more specific until it is felt under one finger and describe its location anatomically.
The normal location is in the 5th intercostal space in the mid-clavicular line. It is quite common however, to not feel the apex beat at all.

Palpate for any heaves or thrills. A thrill is a palpable murmur whereas a heave can be a sign of right ventricular hypertrophy. A thrill feels like a vibration and a heave feels like an abnormally large beating of the heart. Feel for these all over the precordium.

Auscultation is now performed for all four valves of the heart in the following areas:
You should listen initially with the diaphragm noting how many heart sounds you can hear:
If you hear any abnormal sounds you should describe them by when they occur and the type of sound they are producing. Feeling the radial pulse at the same time can give a good indication as to when the sound occurs as the pulse occurs at systole.
If you suspect a murmur, check if it radiates. Mitral murmurs typically radiate to the left axilla whereas aortic murmurs often radiate to the left carotid artery. You should therefore listen over here for any carotid bruits
You should also listen with the bell of your stethoscope for any low pitched murmurs.


To further check for mitral stenosis lay the patient on their left side, ask them to breathe in, then out, and hold it out and listen over the apex and axilla with the bell of the stethoscope.

Aortic incompetence is assessed in a similar way by asking the patient to sit forward, repeat the breathe in, then out and hold exercise and listen over the Erbs point (the third intercostal space on the left).
Finally assess for any oedema. Whilst the patient is sat forward, listen at the lung bases for pulmonary oedema, feel the sacrum for oedema. Also, assess the ankles for the same.


Thank the patient and allow them to dress. Wash your hands and report your findings to the examiner. If you do find any abnormalities you should indicate that you would like to arrange an ECG and an echocardiogram.