Shoulder complaints are fairly common presentations to Accident and Emergency, general practice, and orthopaedic clinics. Common acute problems include fractures, dislocation of the shoulder joint, and rotator cuff injuries. Common chronic problems include frozen shoulder and arthritis.
The shoulder examination, along with all other joint examinations, is commonly tested on in OSCEs. You should ensure you are able to perform this confidently.
The examination of all joints follows the general pattern of “look, feel, move” as well as occasionally special tests, in which this station has many.
Wash your hands and introduce yourself to the patient. Clarify the patient’s identity. Explain what you would like to examine and gain their consent.
Ensure the joint in which you wish to examine is appropriately exposed, in this case the patient should be exposed from the waist up. You should therefore offer a chaperone

The patient should be standing for this examination. Begin with a general inspection of the shoulder joint from the front, side and back. Look for symmetry, wasting, scars or obvious bony deformity.


Feel over the joint and its surrounding areas for the temperature of the joint. A raised temperature may suggest inflammation or infection in the joint.

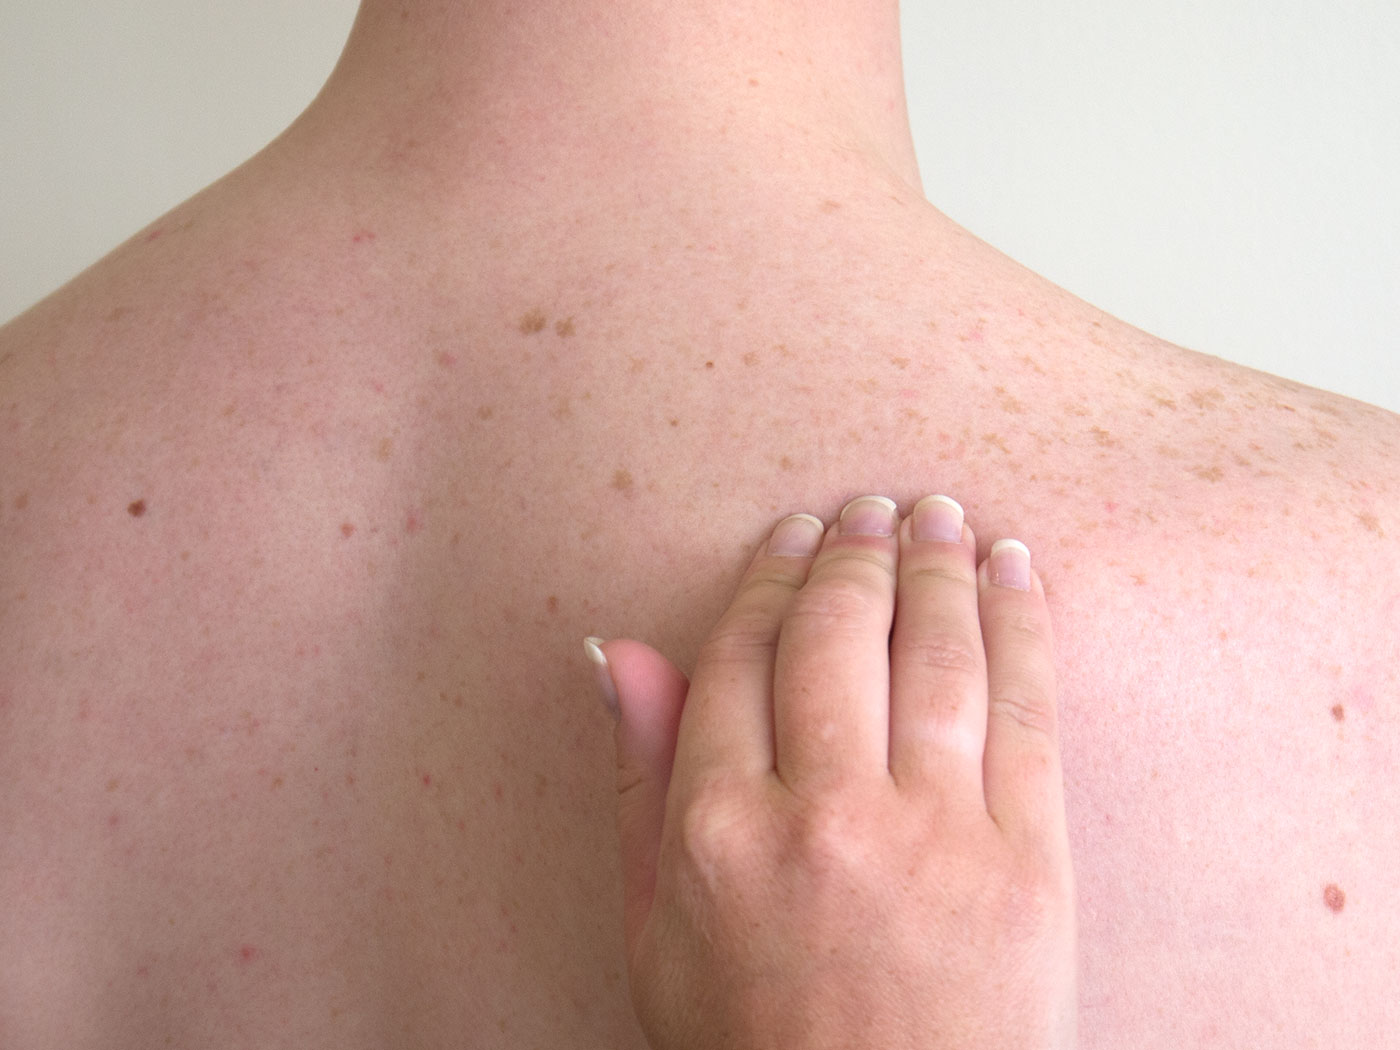
Systematically feel along both sides of the bony shoulder girdle. Start at the sternoclavicular joint, work along the clavicle to the acromioclavicular joint, feel the acromion, and then around the spine of the scapula. Feel the anterior and posterior joint lines of the glenohumeral joint and finally the muscles around the joint for any tenderness.


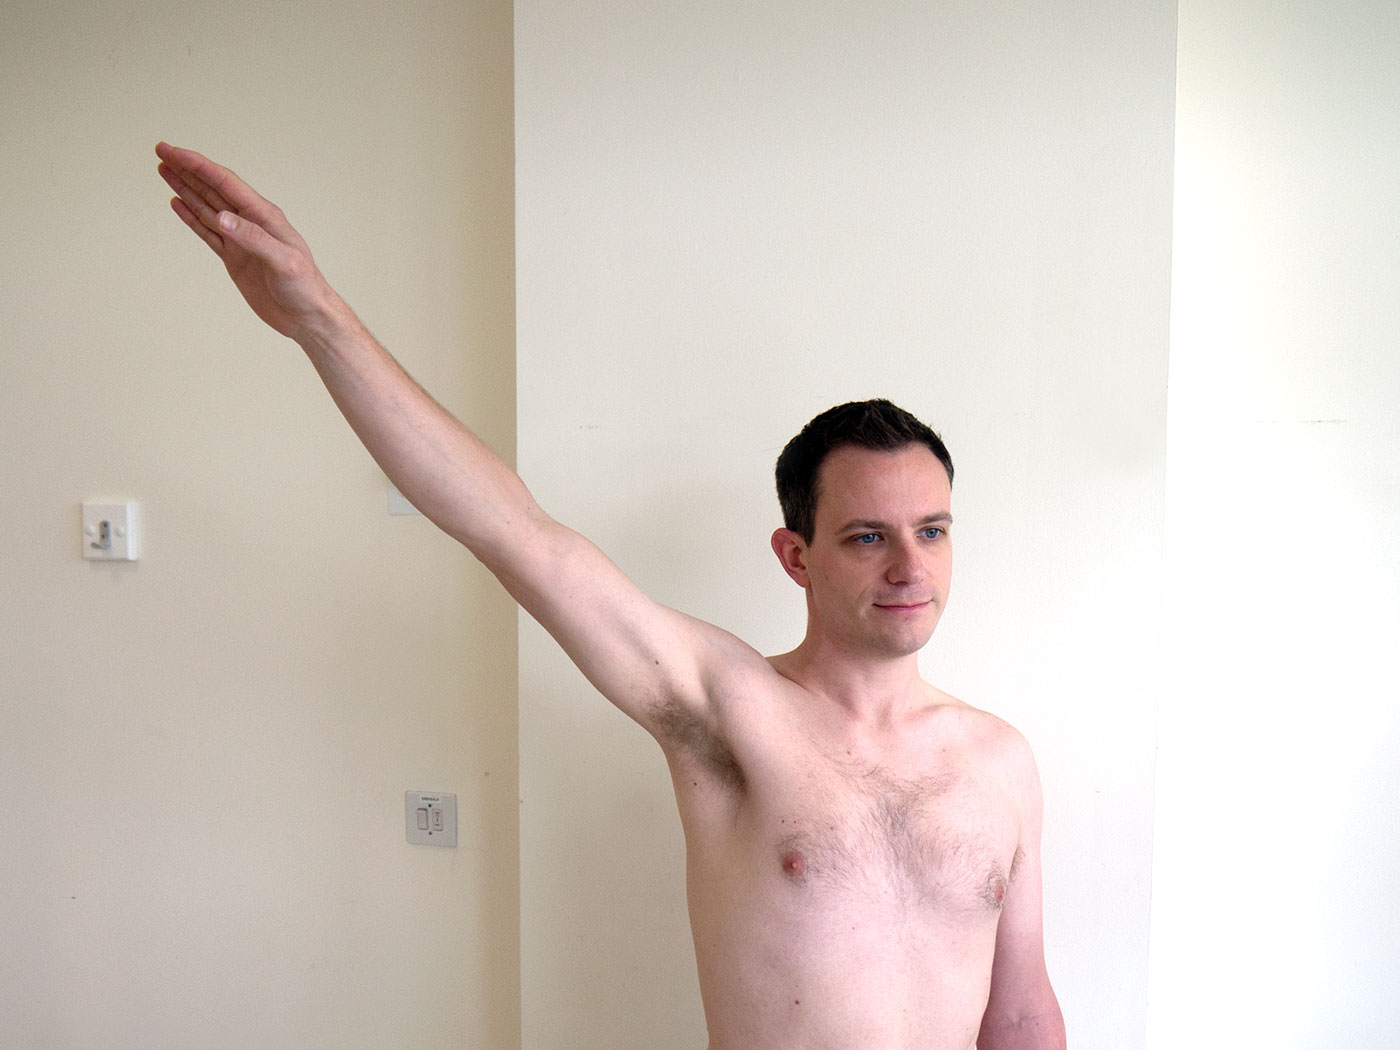
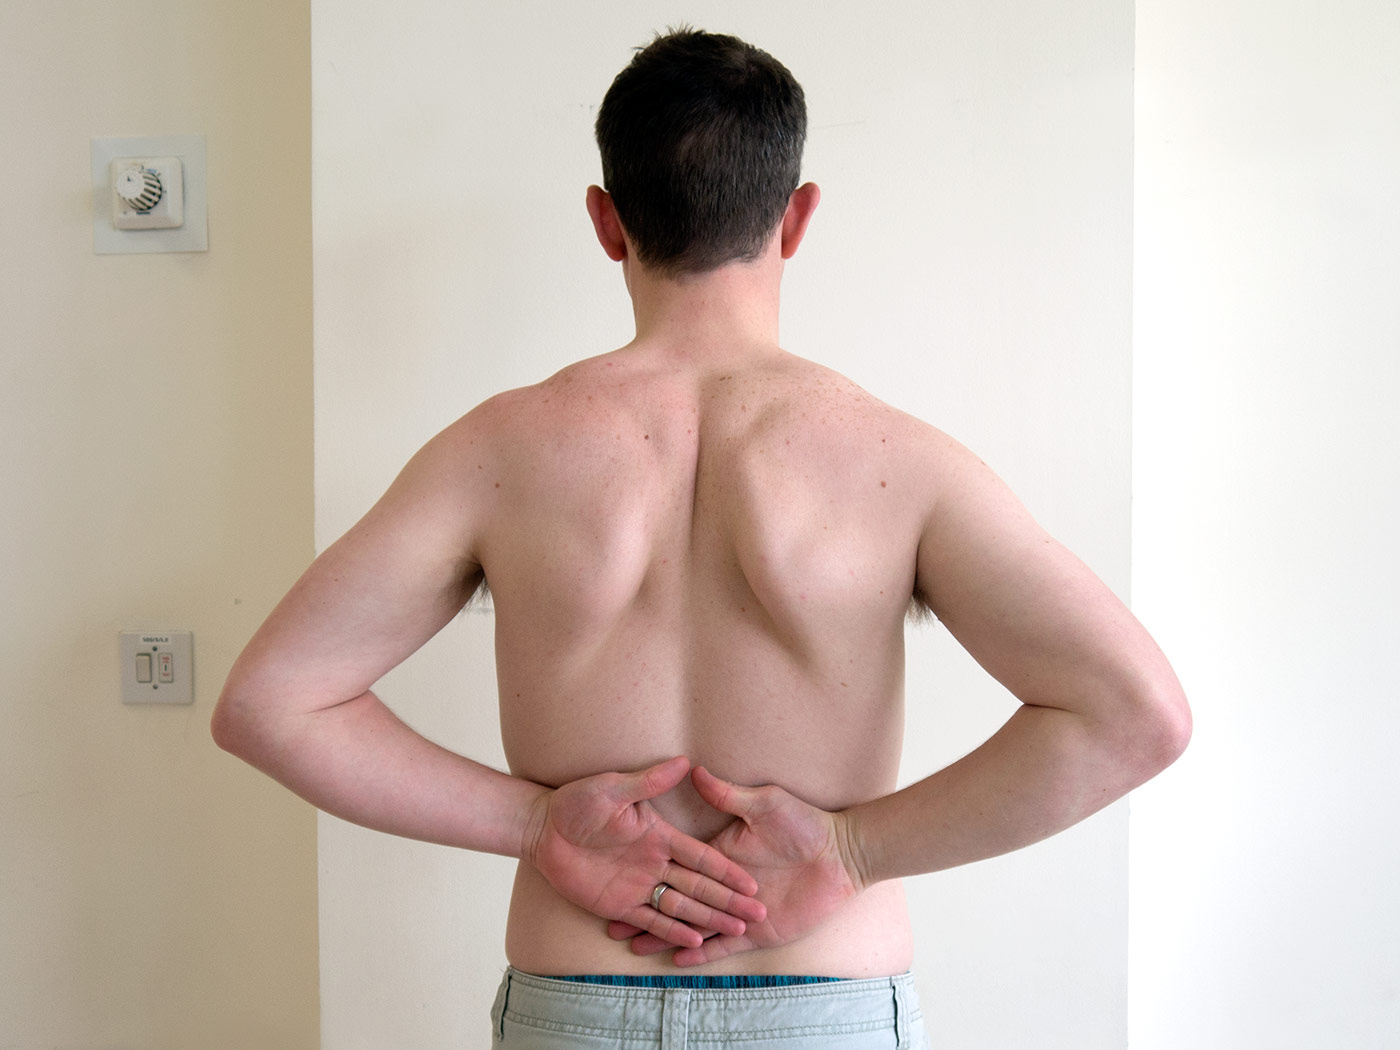
The movements of the joint should begin by being performed actively. Ask the patient to bring their arm forward (flexion), bend their arm at the elbow and push backwards (extension). Bring their arm out to the side and up above their head (abduction). Flex the elbow and tuck it into the side and move the hand outwards (external rotation). And finally see how far they can place their hand up their back (internal rotation).


Once all of these movements have been performed actively, you should perform them passively and feel for any crepitus whilst moving the joints
There are three special tests which can be performed on the shoulder:
The impingement test is performed by placing the shoulder out at 90 degrees with the arm hanging down, press back on the arm and check for any pain.
The apprehension test is similar but the arm is facing upwards and push back on the arm; the patient may be apprehensive about the movement as the joint feels unstable.
The scarf test is performed with the elbow flexed to 90 degrees, placing the patient’s hand on their opposite shoulder and pushing back. Again look for any discomfort.


Finally, perform two quick and easy function tests. This involves the patient placing their hands behind their head and behind their back. This checks that they can perform everyday tasks.


On completion, allow the patient to dress, thank them for their time, and wash your hands. Report your findings to the examiner.
An extension to this station may be to assess the rotator cuff muscles individually, you should therefore be aware how to do this.