The upper limb examination is another skill to elicit neurological signs, such as nerve problems that supply the arms and hands. Patients may present with a number of complaints including altered sensation, for example: pins and needles or numbness or loss of power of a limb, it may be intermittent such as multiple sclerosis or permanent such as in motor neurone disease.
Neuropathies can also occur and can be mono such as wrist drop or Erb’s palsy or poly such as “glove and stocking” which can occur in diabetes mellitus.
A full neurological examination therefore includes assessment of both the motor and sensory systems of the legs. In exams you may be asked to focus on one part, such as the sensory or the motor. For reference, this guide, will include both.
See Lower Limb Neurological Examination for how to perform this on the lower limbs.
As with all examinations, the best method is your own – one with which you are comfortable and familiar. The one explained here takes the following format:
Wash your hands, introduce yourself to the patient and clarify their identity. Explain the procedure you about to perform and and obtain consent.
The upper body should be exposed for this examination. Initially, observe the patient’s arms, look for any muscle wasting, fasciculations or asymmetry.

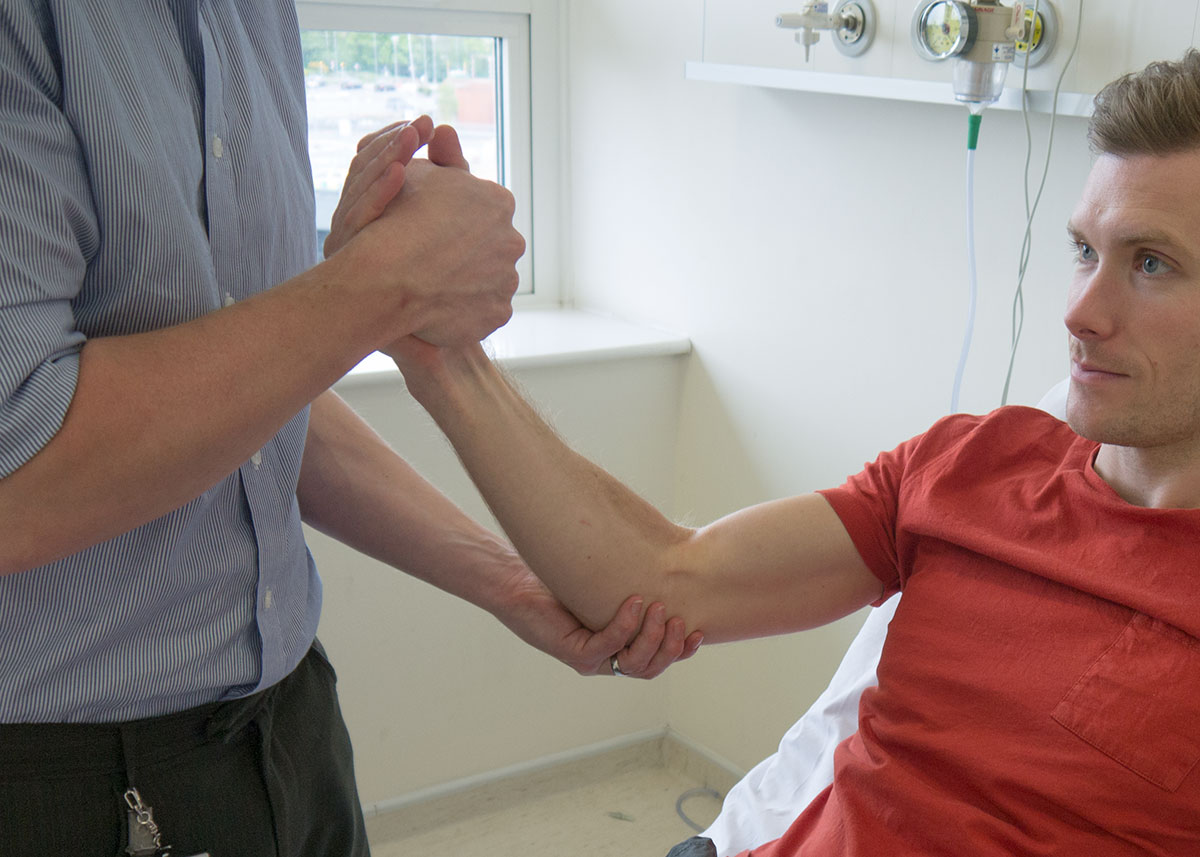
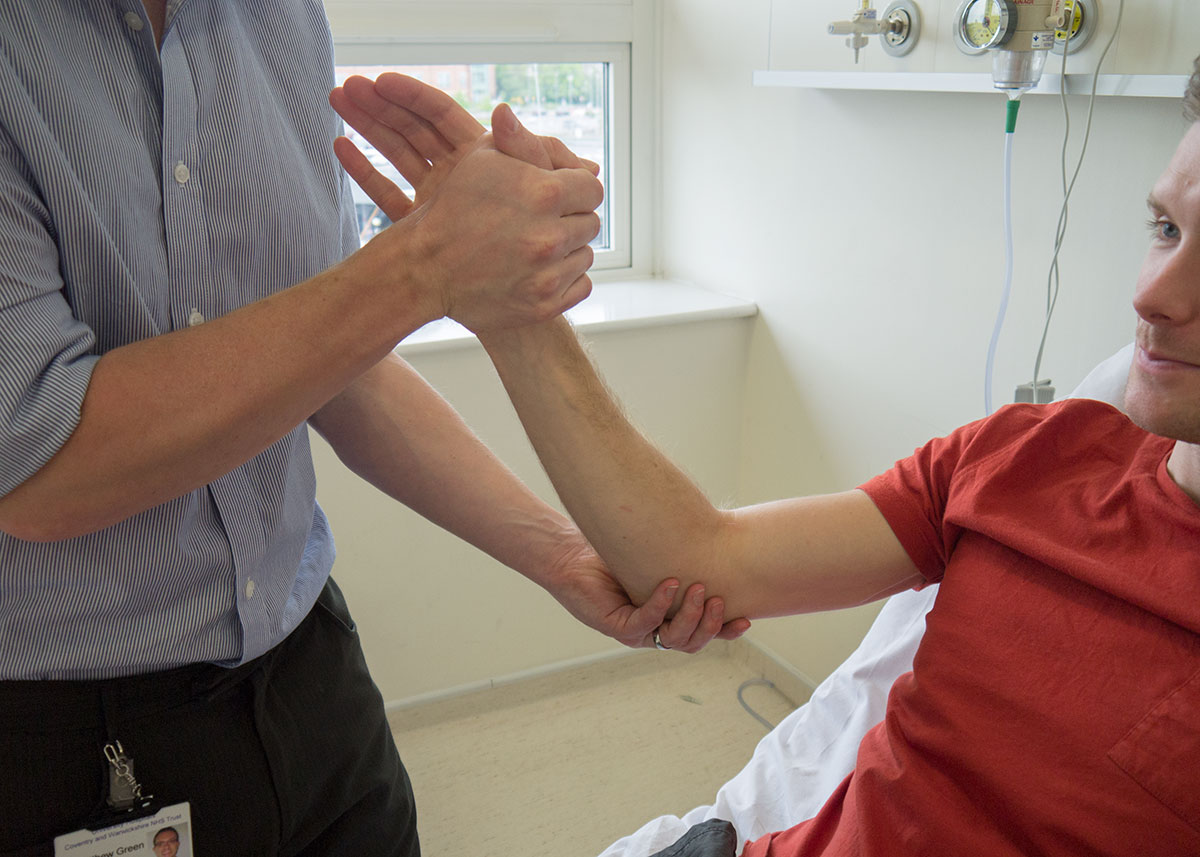
Start proximally at the shoulder, feeling how easy the joint is to move passively. Then move down to the elbow, wrist and hand joints, again assessing each one’s tone in turn.


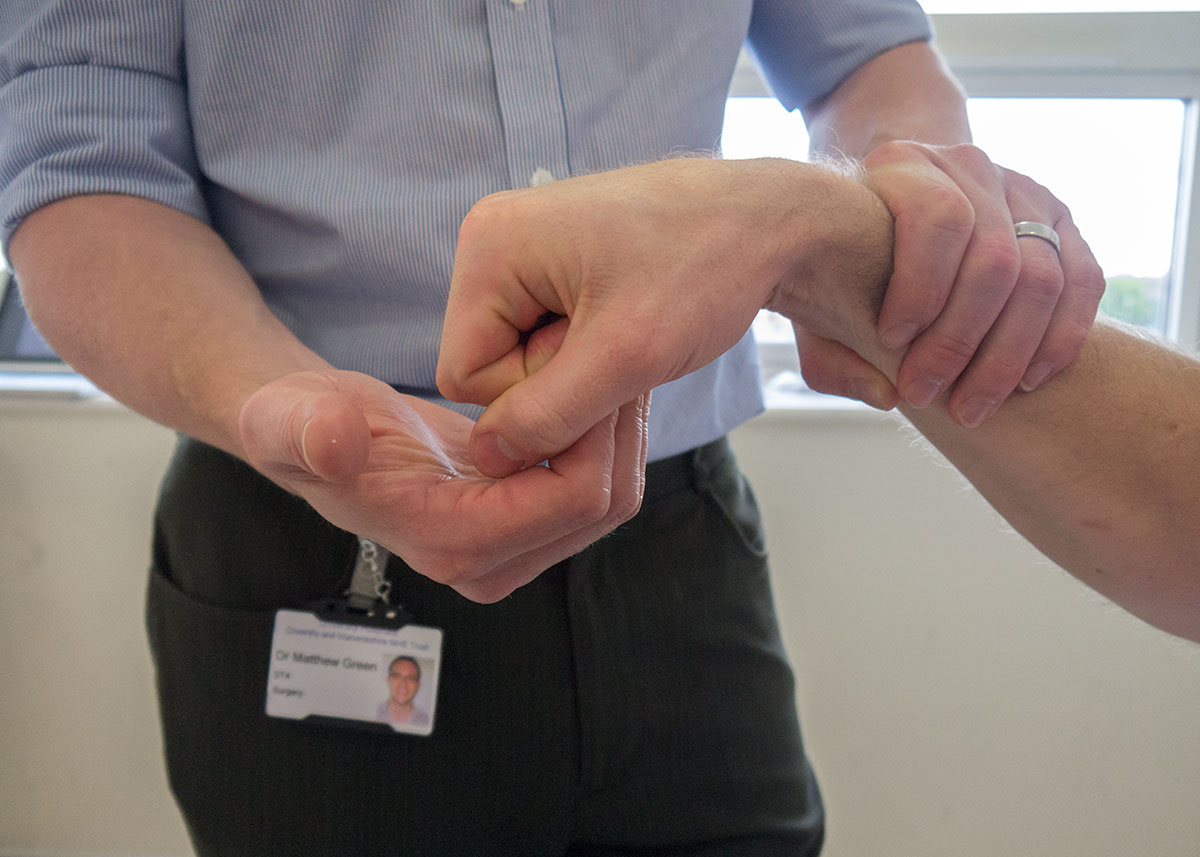
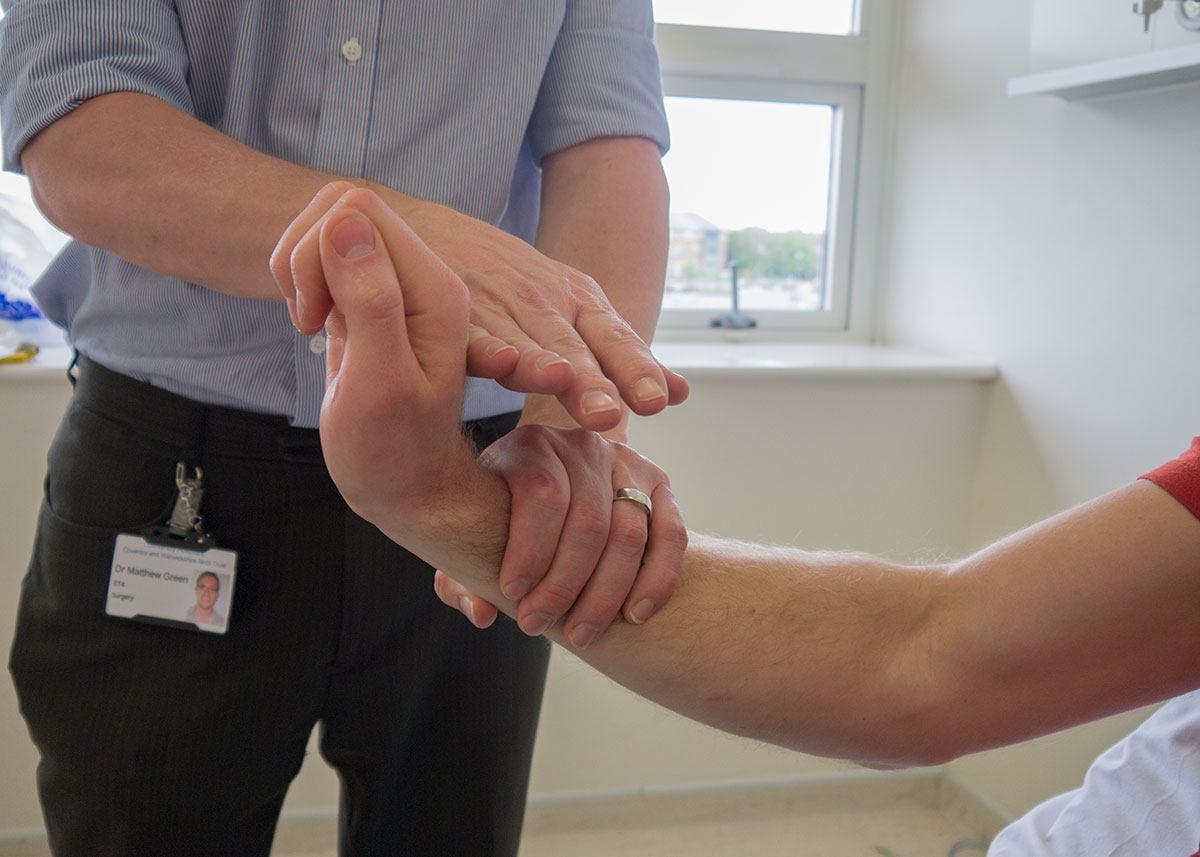
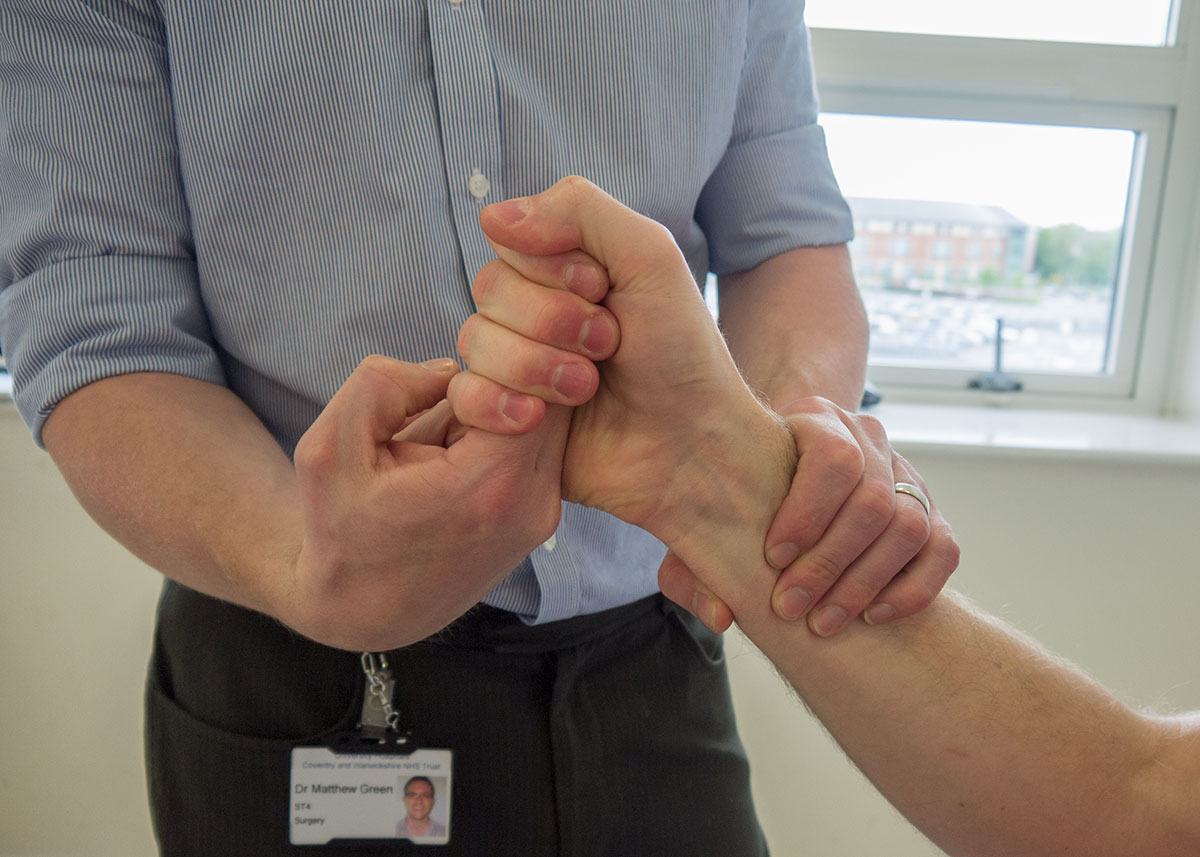
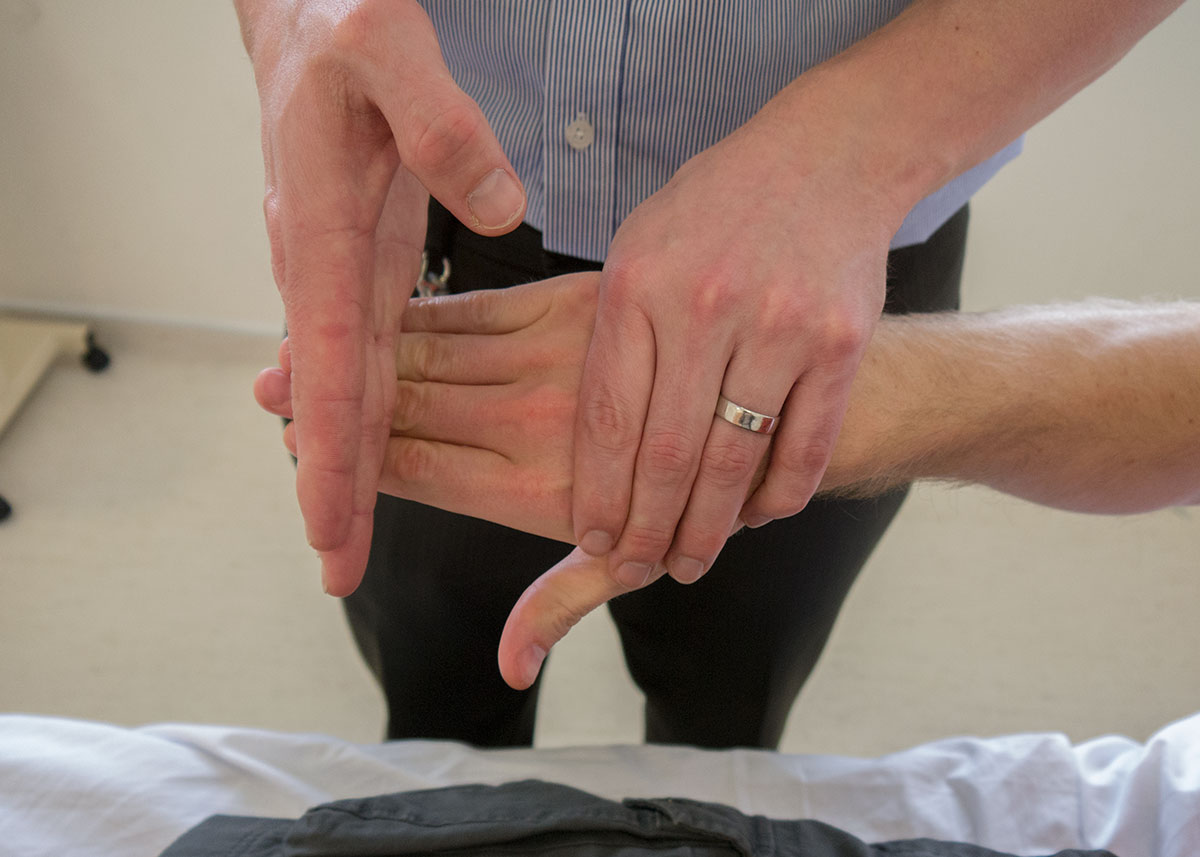
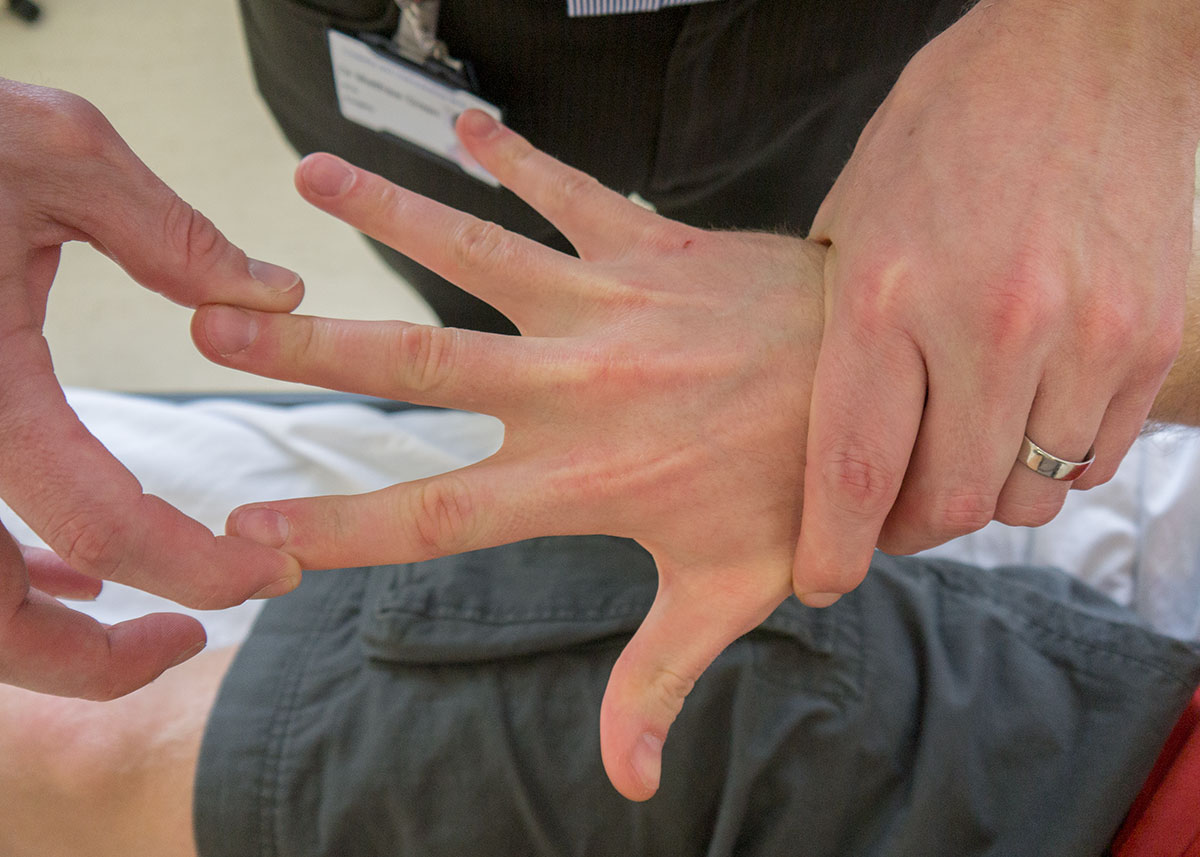
Start at the shoulder asking the patient to abduct and adduct against your hand so you can assess how much force they can overcome. Do the same for flexion and extension at the elbow and wrist, as well as the fingers; also checking abduction and adduction of the thumb.


There are three reflexes in the upper limb:
The biceps reflex is tested by supporting the patient’s arm, with it flexed at roughly 60 degrees, placing your thumb over the biceps tendon and hitting your thumb with the tendon hammer. It is vital to get your patient to relax as much as possible and for you to take the entire weight of their arm.


The triceps reflex is elicited by resting the patient’s arm across their chest and hitting the triceps tendon just proximal to the elbow.


Finally, with their arm rested on their abdomen, locate the supinator tendon as it crosses the radius, place three fingers on it and hit the fingers. This should give the supinator reflex. If you struggle with any of these reflexes, asking the patient to clench their teeth should exaggerate the reflex.


To assess the upper limb, you should ask the patient to touch their head with both hands and then ask them to pick up a small object such as a coin which each hand.
You should test light touch, pin prick, vibration, and joint position sense, or proprioception.
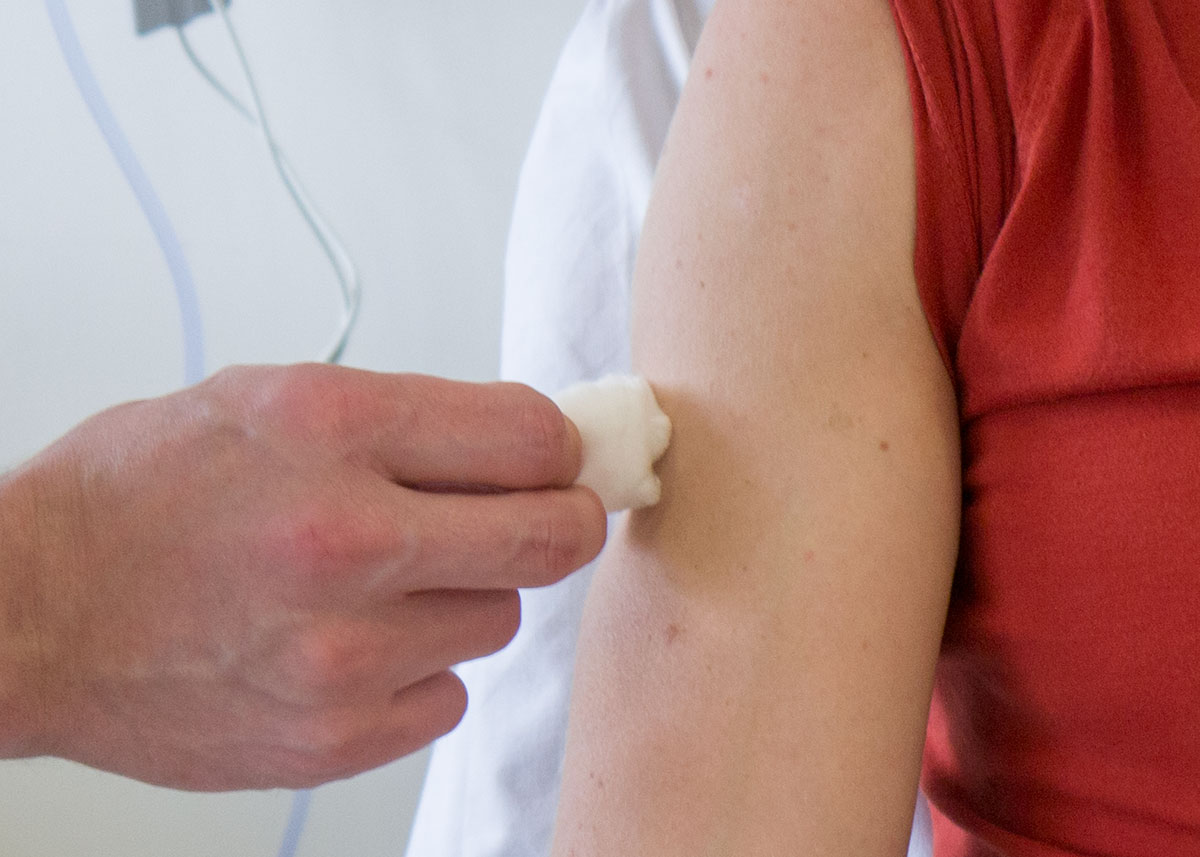
Ask the patient to place their arms by their sides with their palms facing forwards. Lightly touch the patient’s sternum with a piece of cotton wool so that they know how it feels.
Then, with the patient’s eyes shut, lightly touch their arm with the cotton wool. The places to touch them should test each of the dermatomes – make sure you know these! Tell the patient to say “yes” every time they feel the cotton wool as it felt before.
Repeat the last step using a light pin prick.

To assess vibration you should use a sounding tuning fork. Place the fork on the patient’s sternum to show them how it should feel.
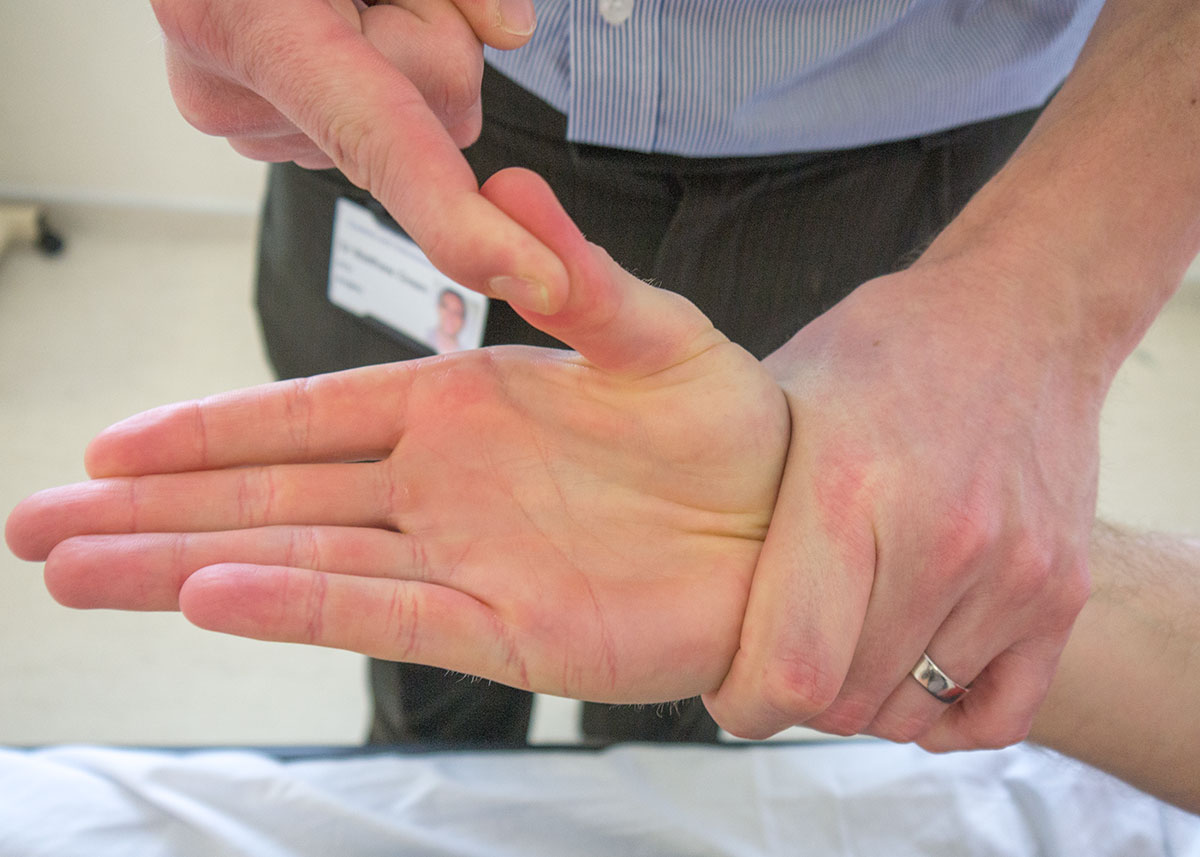
Now place it on the bony prominence at the base of their thumb and ask them if it feels the same. If it does, there is no need to check any higher. If it feels different you should move to the radial stylus and then to the olecranon until it feels normal.

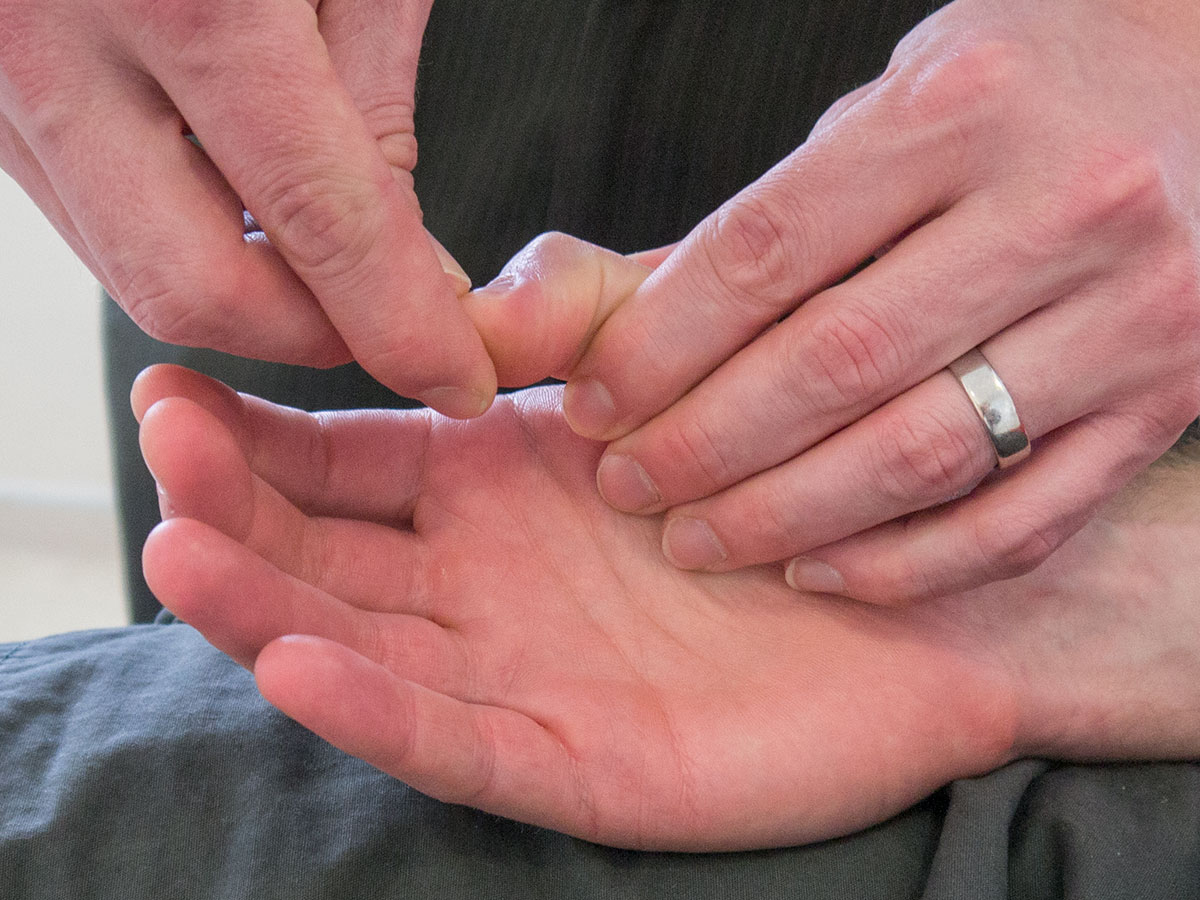
Finally assess proprioception. Hold the distal phalanx of the thumb on either side so that you can flex the interphalangeal joint.
Show the patient that when you hold the joint extended, that represents Up whereas when you hold it flexed that represents Down. Ask the patient to close their eyes and, having moved the joint a few times hold it in one position – up or down. Ask the patient which position the joint is in.

Allow the patient to dress and thank them.
Wash your hands and report your findings to the examiner.
